Configure a headless Raspberry Pi from MacOS (No monitor or keyboard required)
This quick tutorial will show you how to download and install Raspbian OS in your memory card, then configure everything from your mac for remote control. From wifi to SSH and VNC without additional monitor or keyboard.
Download and install Raspberry Pi OS
You no longer have to download the image and install it manually. Instead, you just download Raspberry Pi Imager from this link and install it.
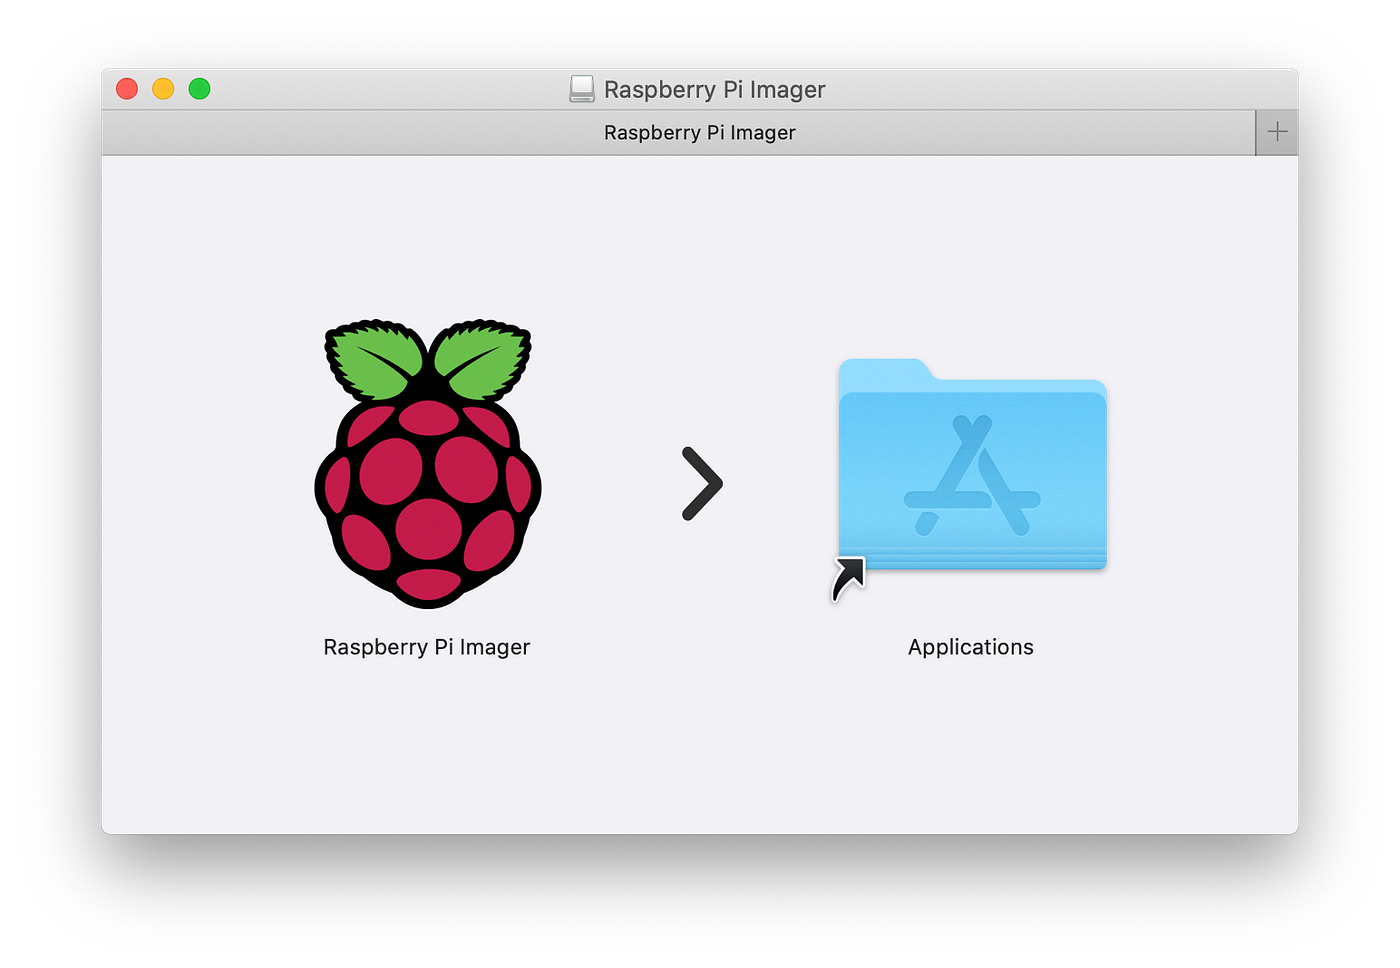
Select an operating system (I used Raspberry Pi OS), an SD Card and click write.

You now have Raspberry Pi OS installed and can insert it in your raspberry if you have a keyboard and a monitor. If not, keep following along.
Enable Wifi, SSH and VNC
Now we want the raspberry to automatically connect to wifi and enable ssh so we can control it from our computer.
Assuming the mounted memory card is called "boot" (which is the default).
Open a terminal and run the following:
touch /Volumes/boot/sshThis will create an empty file called ssh which will tell the raspberry to enable remote control when it boots.
Then to automatically connect to your wifi, run:
sudo nano /Volumes/boot/wpa_supplicant.confThis will open an editor where you paste this:
country=US
ctrl_interface=DIR=/var/run/wpa_supplicant GROUP=netdev
update_config=1

network={
 ssid="NETWORK-NAME"
 psk="NETWORK-PASSWORD"
}
The SSID is the name of your network and PSK is the password. Also change the country depending on where you are.
Press control + y to save and quit nano.
You can now properly eject the memory card and when you insert it in the raspberry, it will automatically connect to your wifi and enable ssh.
First connection to the Raspberry Pi
Open a terminal and run:
ssh pi@raspberrypi.localIgnore the warning that happens the first time you connect to a device and you are in.
The first thing you should do is run these commands that will update and upgrade everything:
sudo apt-get update -y
sudo apt-get upgrade -y
sudo apt dist-upgrade -y
It might take a while…
Now you have access to the terminal and everything is up to date. For some people it is enough.
But if you want to actually see the raspberry desktop in your computer, you can enable VNC in the following way:
Enabling VNC to gain visual access
In the same terminal, type:
sudo raspi-config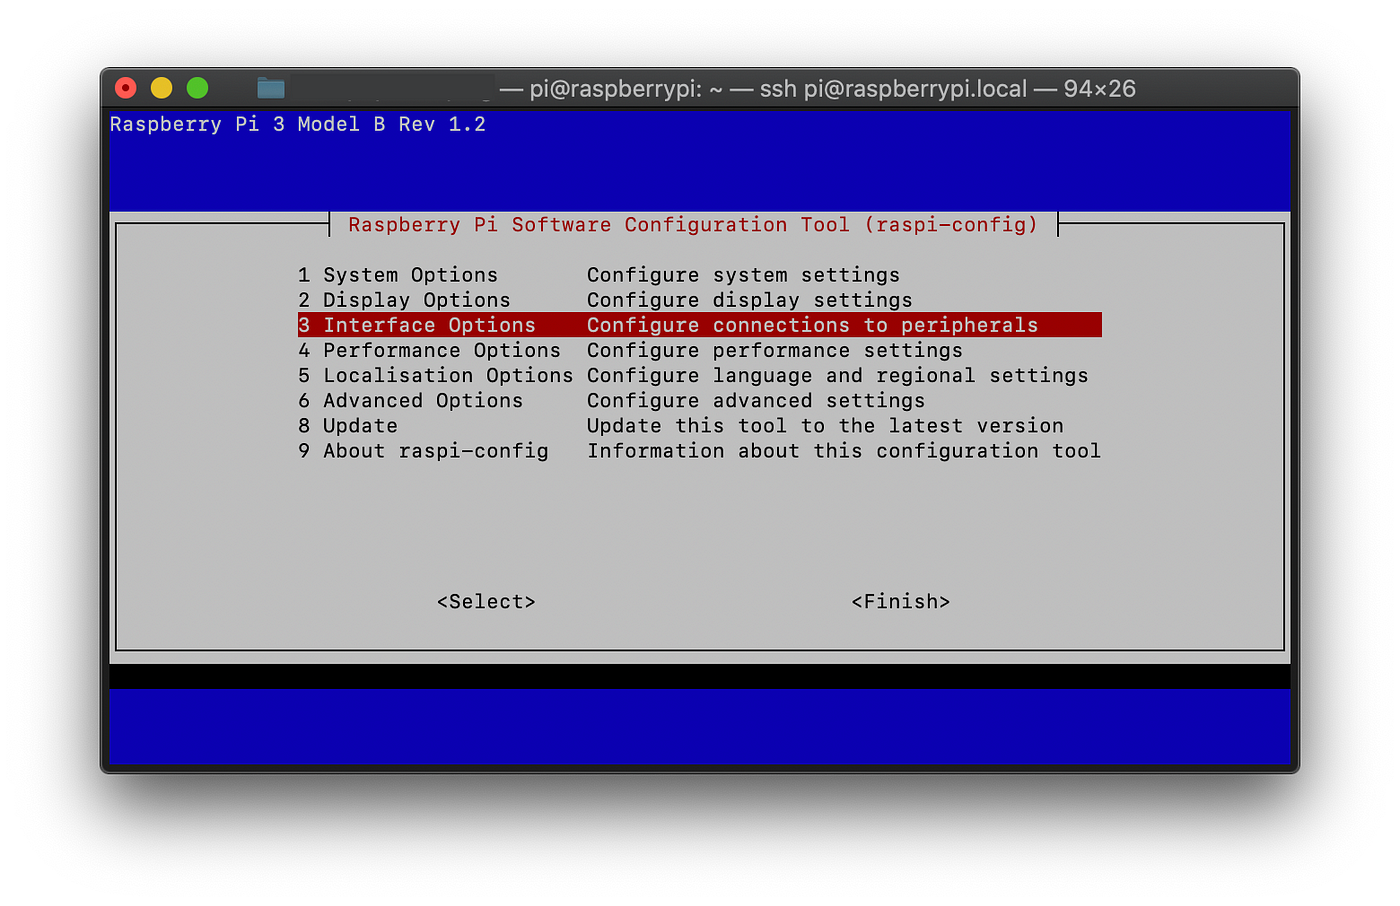
- Select "Interface Options"
- Click on VNC
- Click on YES
- Select Finish
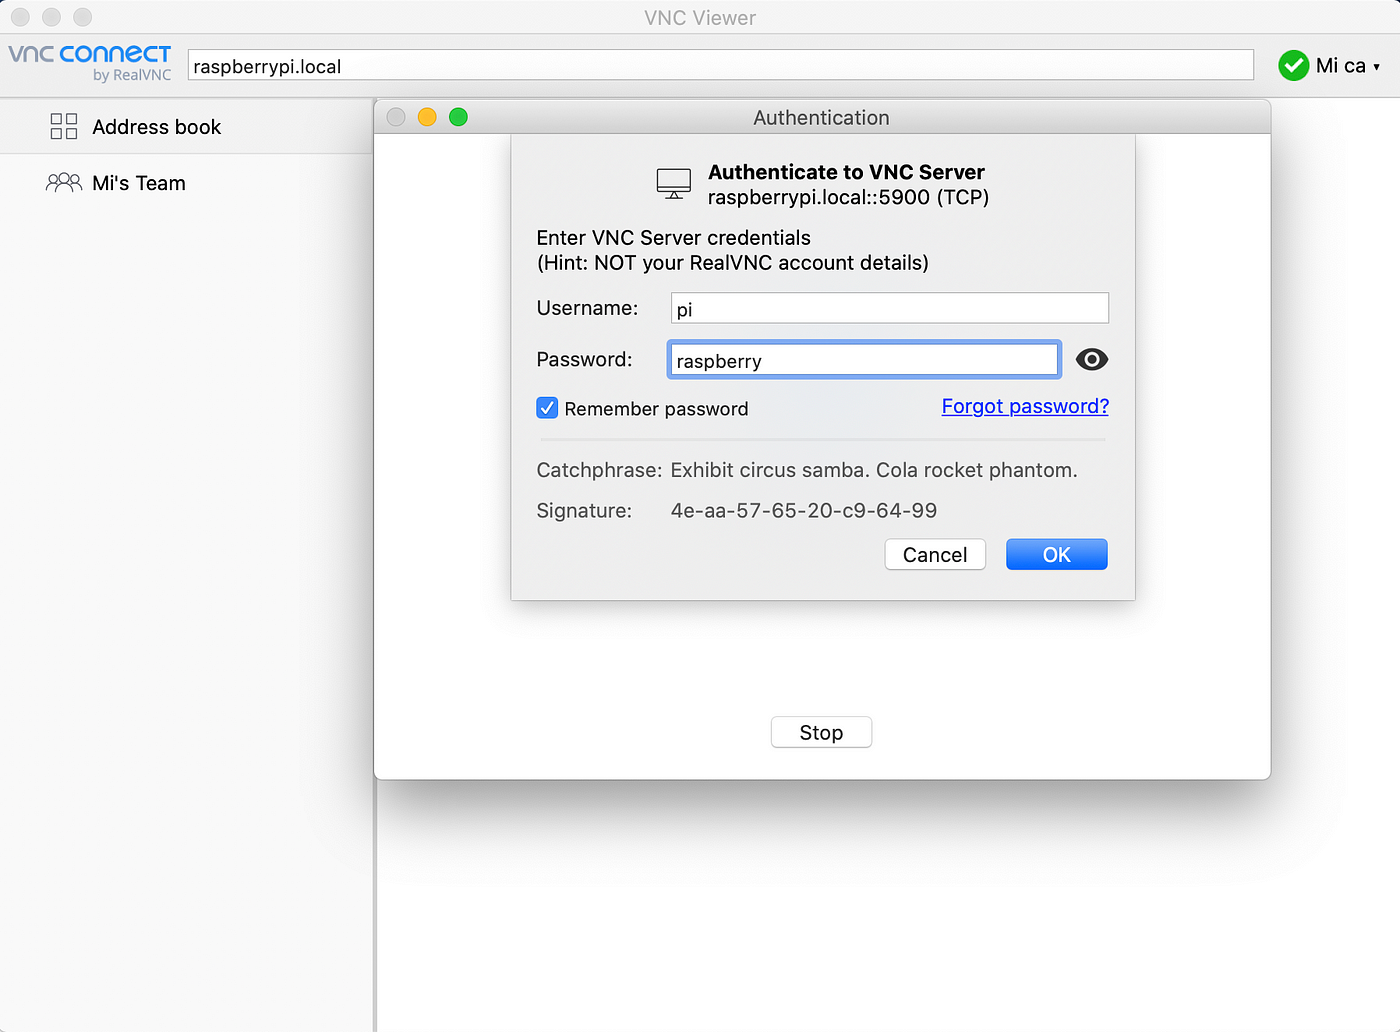
Now that VNC is enabled on the Raspberry, we need to install a client on our Mac.
I chose VNC Viewer. You can get it here.
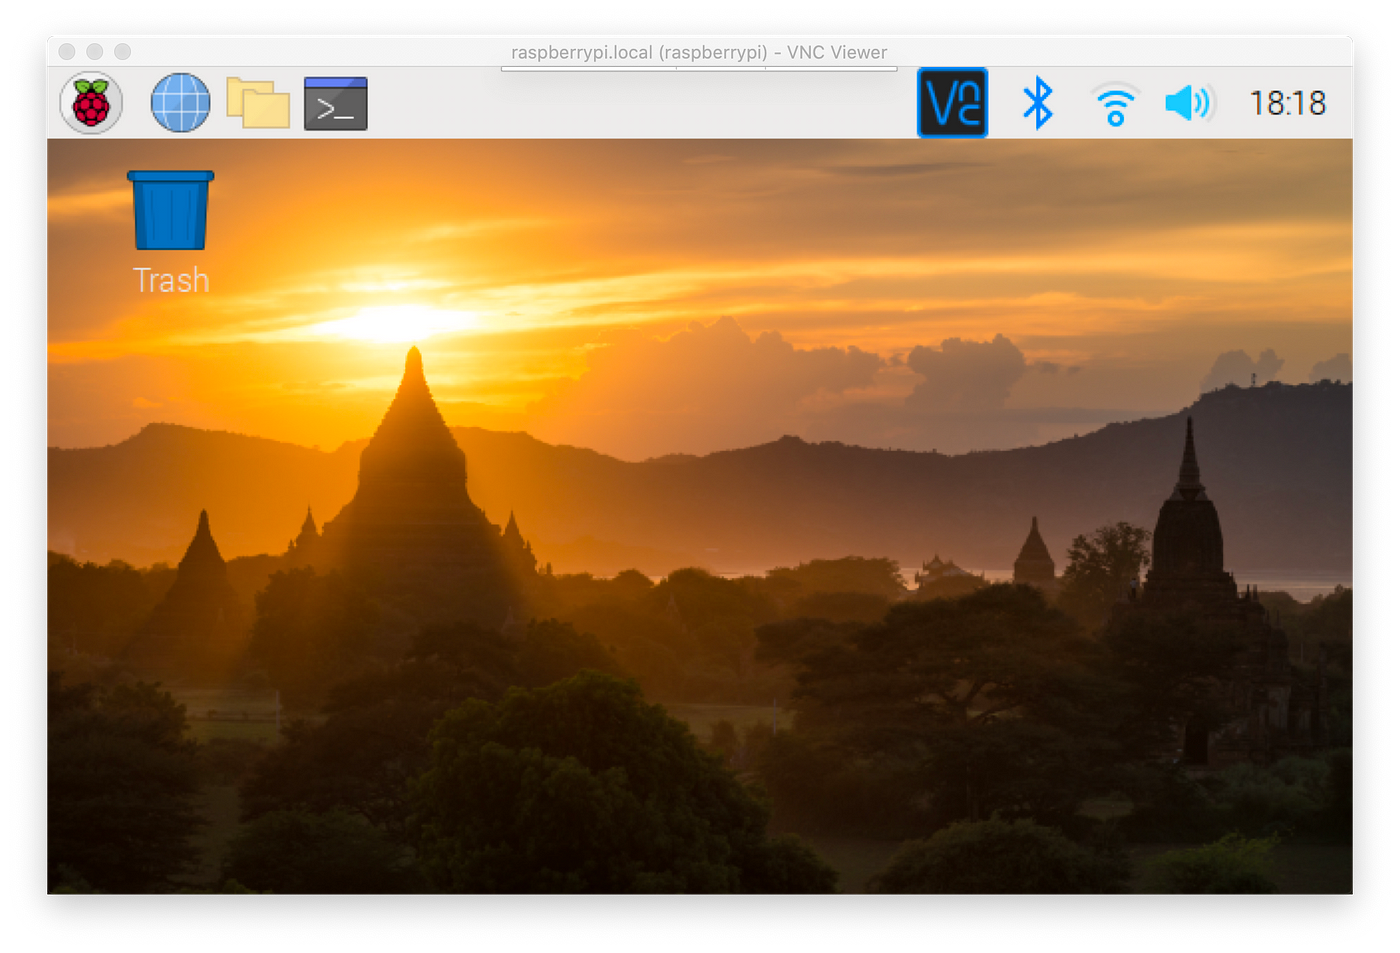
As before, the address is raspberrypi.local, the default username is pi and the default password is raspberry.
After being guided through some useful configuration steps, such as changing the default password, you have arrived: